Making a Lidded Container + Throwing with a Textured Rib
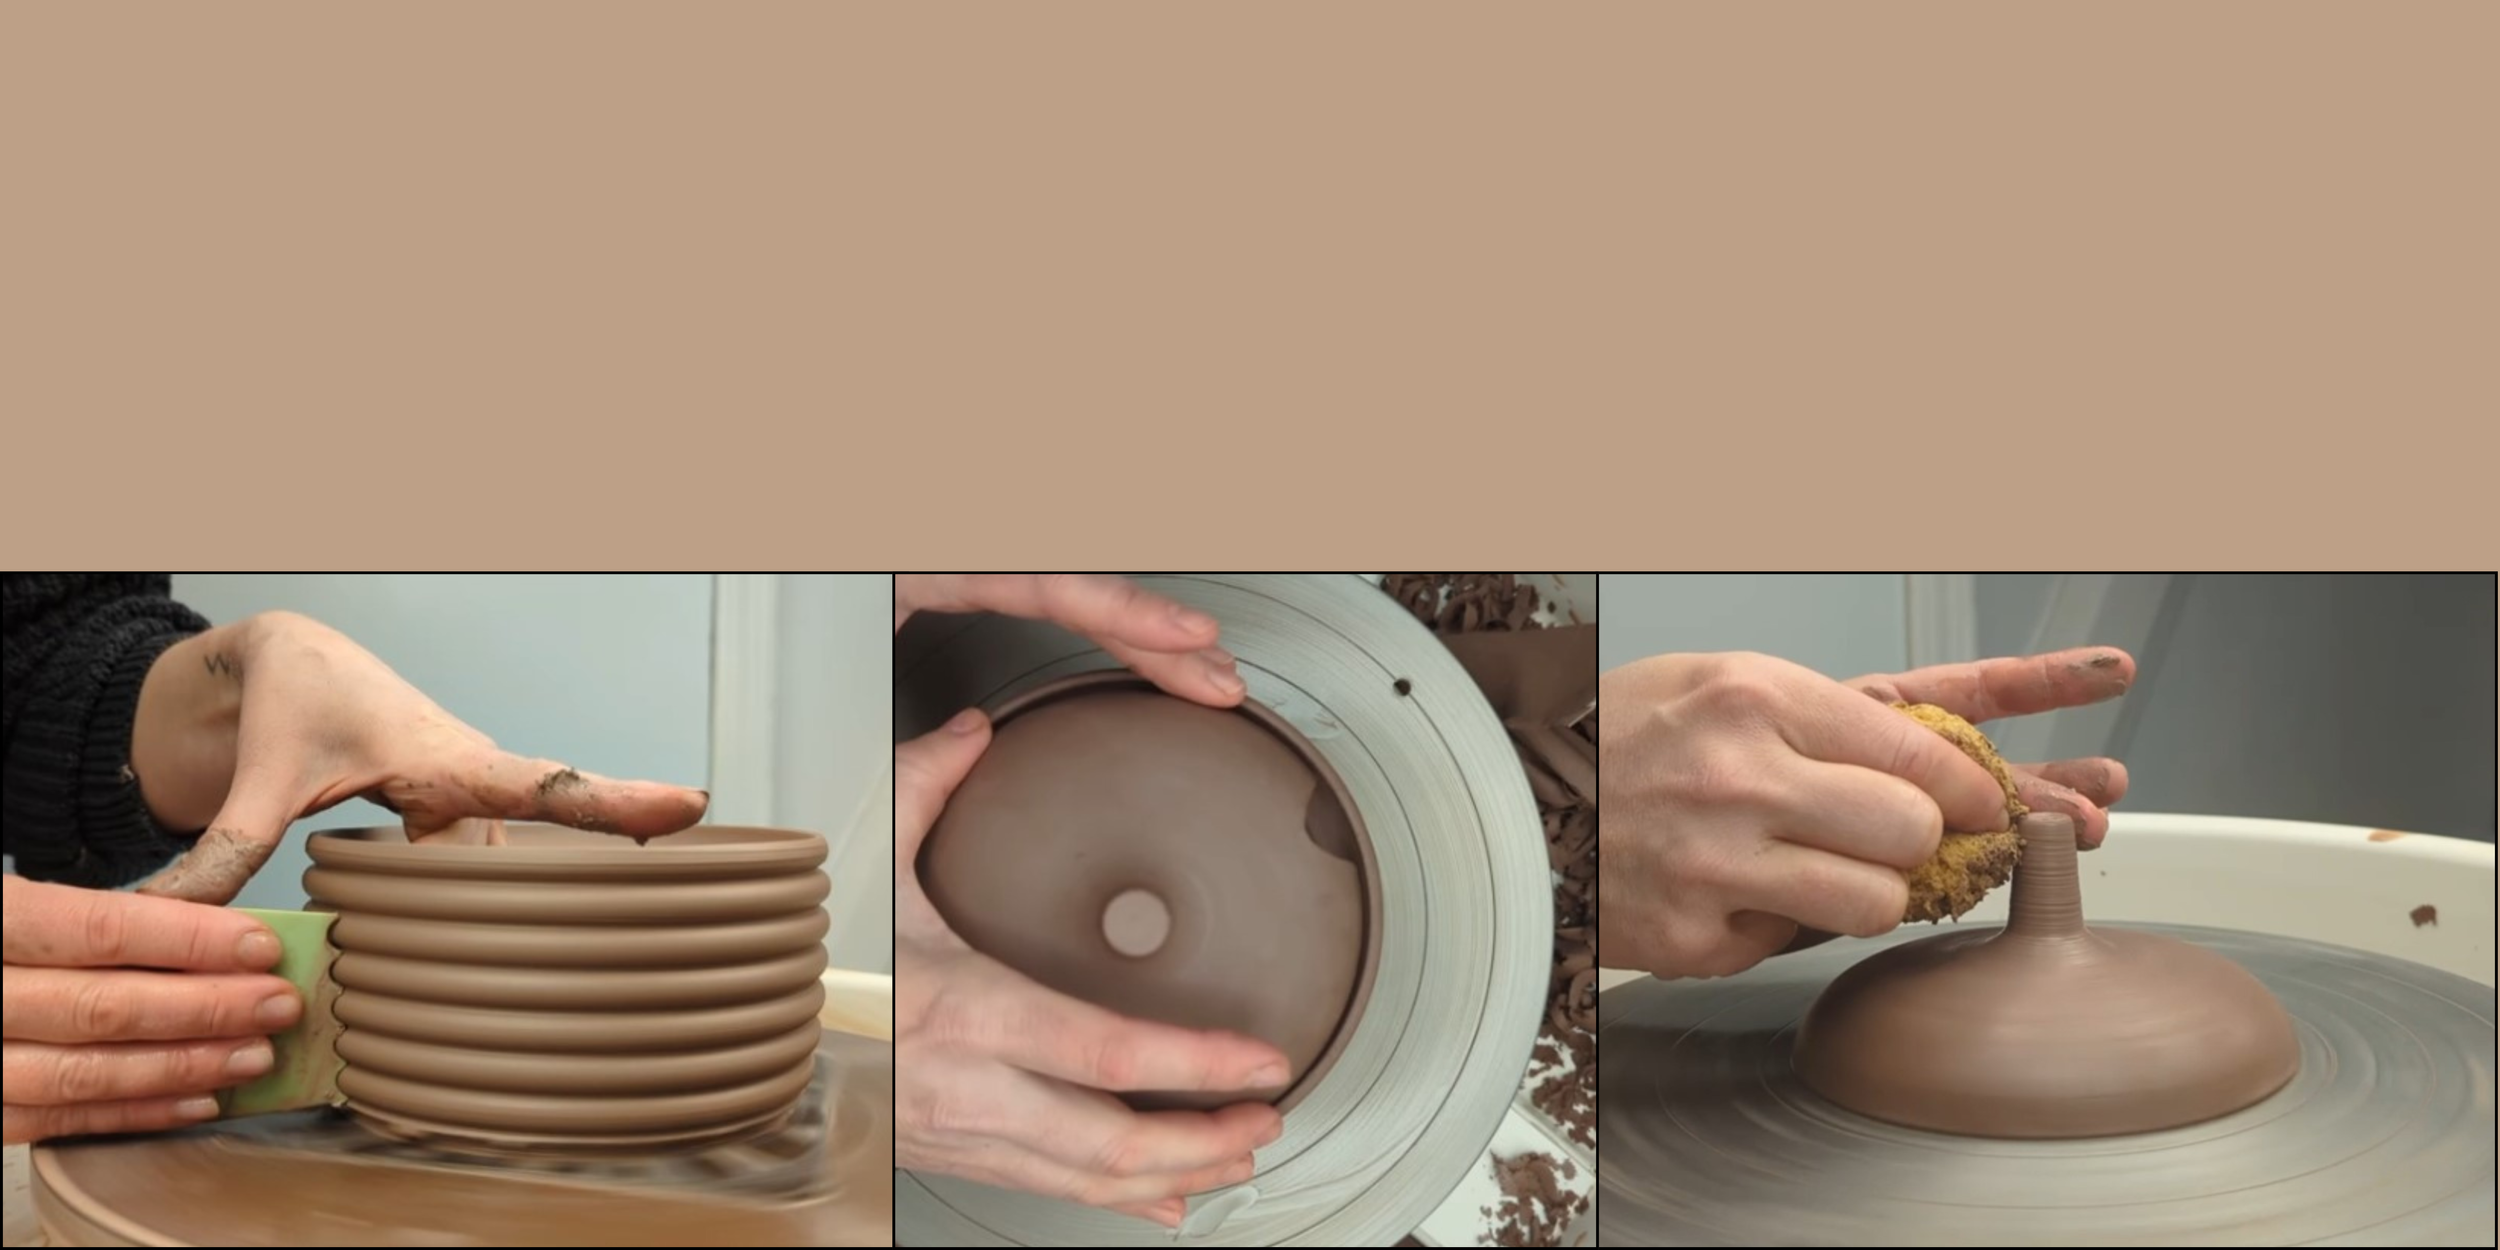
In this project, we will be making a functional and beautiful lidded container on the pottery wheel. The lesson will cover everything, starting with centering and throwing with a textured rib tool and throwing a perfectly fitting lid. In part 2 we will trim both pieces, throw a knob, and finish our pieces.
We will venture into many different techniques in order to achieve this form including creating a wide gallery for our lid to fit into, which can be a tricky task when you first begin making these kinds of forms. We will collar for perfect verticality, and hone our attention to detail with the textural element in both the throwing and trimming stages.
This is an introductory lesson for beginner to intermediate students who enjoy being led in a new project by a professional potter and teacher.
I will share my take on the casserole-style lidded form, using descriptive language and frame-by-frame analysis for you to stop and start as you like, as many times as you like.
The beauty of CLAY&ASH is that if you enjoy my teaching style you have access to an entire catalogue of lessons to further your enjoyment and technical skill in pottery.
-
-
Part 1 : Making a Lidded Container in a Casserole Style + Using a Textured Rib
It’s time to push ourselves with this full-length project on Lidded Containers. We will be exploring a commonly used shape in this example that requires attention to detail, control, and technical skill.
In PART 1 we will be tackling the centering, throwing and texturizing of the base and lid.
It’s time to push ourselves with this full-length project on Lidded Containers. We will be exploring a commonly used shape in this example that requires attention to detail, control, and technical skill.
In PART 1 we will be tackling the centering, throwing and texturizing of the base and lid.
-
Part 2 : Trimming a Lidded Container + Throwing a knob onto the lid
Our Lidded Container project continues!
In PART 2 we will work through trimming the base and lid, throwing a knob onto the lid and finalizing the form.
Our Lidded Container project continues!
In PART 2 we will work through trimming the base and lid, throwing a knob onto the lid and finalizing the form.
-
MAKE IT STAND OUT
Whatever it is, the way you tell your story online can make all the difference.
It all begins with an idea. Maybe you want to launch a business. Maybe you want to turn a hobby into something more. Or maybe you have a creative project to share with the world.


